Beau Bizarre-Behind the Scenes
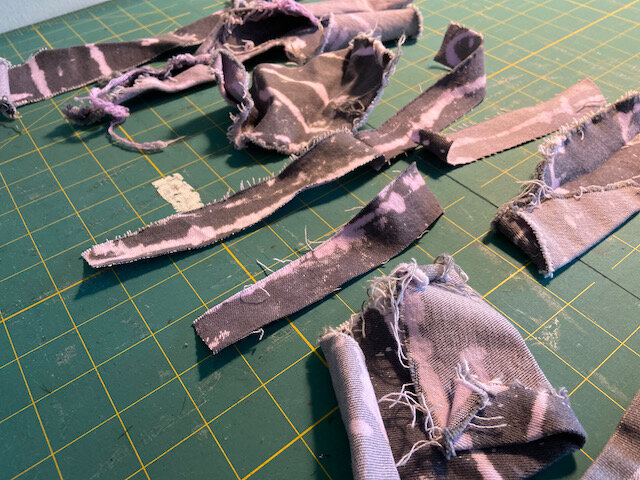
The Denim: This is fun and easy too! First, I took my freshly washed, and ironed denim and laid it out flat. I had took some cotton cord cut about 4 feet long and had it soak in a small bucket of bleach. Then, I had decided to do a pretty organic pattern using the cords to go back and forth and also curving at the ends for interest. I pressed the cord down a bit to spread the bleach, and let it sit for a short time. The bleach works pretty fast so it doesn’t take long. Depending on the fabric, the bleached area can sometimes come out with a yellow cast. So, I rinsed it and then put it in big container with a very diluted dye. I let it sit for only a few minutes. At that point, you just wash and dry as usual. You could use this method with dye in lieu of bleach. You can play with patterns, and create variation with how wet your cords are, or how much you press out onto your fabric. Tip: Make sure you dye enough fabric! I had just barely enough for what I wanted to do. These are my scraps.

Rorschach: For this artwork, I used waxed paper. I had some vinyl that I got from the clearance section of Joanns. So I covered my surface with that first. I used basing spray to hold my pieces down. For example, when I did the front of the top, I aligned the two pieces right side up and aligned right next to each other.
Next, I created a frame on those pieces using tape and plain paper. I mark the center points. This is how you control where you put your paint down and that it is aligned correctly vertically and horizontally. Then, I cut a piece of waxed paper the proper size and gave it a nice fold in the middle, and mark the center points so they will match up with the ones on the tape/paper frame.
I used fabric paint, but you can use acrylic paint mixed with fabric medium as well. If you are going to be doing a lot of colors that it probably much more affordable. Apply the paint in drips, blobs, smears or whatever to one side of your folded waxed paper. Then fold it in half and press. You can move the paint around a bit by pressing directionally. Open it up and see if you like what you did. You can always add more paint, or start over if you aren’t happy yet.
When you have the perfect Rorschach, flip it paint side down and while keeping it taught hover over your frame and apply. Press gently, letting the paint soak into the fabric. When ready, starting at one side and going to the other, slowly peel off the waxed paper.
Let it dry and then heat set it. And you’re done! Tip: Get someone to help you. The step where you are putting your painted waxed paper down it critical to get right. Having a partner help you hold it level and steady is key.
*Sorry there aren’t really photos for this. I had my hands full.


Graphic: This turned out so cute. Before this competition, I had never done any graphic tee shirts. Now, I’m hooked. This is a wonderful way to share your kids artwork. If you don’t have a cricut (like me), be sure your design has a solid edge. This will make it easy to cut into a clean square or rectangle. Tip: Make sure you have the right the printable heat transfer vinyl. Dark for dark fabrics, and white for light fabrics.